This post contains affiliate links. As an Amazon Associate, we earn from qualifying purchases.
To replace the water filter in your kenmore pro counter depth, first shut off the water supply and locate the filter housing. If you own a kenmore pro counter depth refrigerator, it is essential to replace your water filter at least every six months to ensure that it is working correctly.
There are two main reasons to replace the water filter: to improve the taste of the water and to prevent mineral buildup, which can cause clogging and damage in the water dispenser or ice maker. Understanding how to replace the water filter is key to the maintenance of your refrigerator.
In this article, we provide you with a step-by-step guide on how to replace the water filter in your kenmore pro counter depth refrigerator and some useful tips to make the process more manageable.
Credit: www.lowes.com
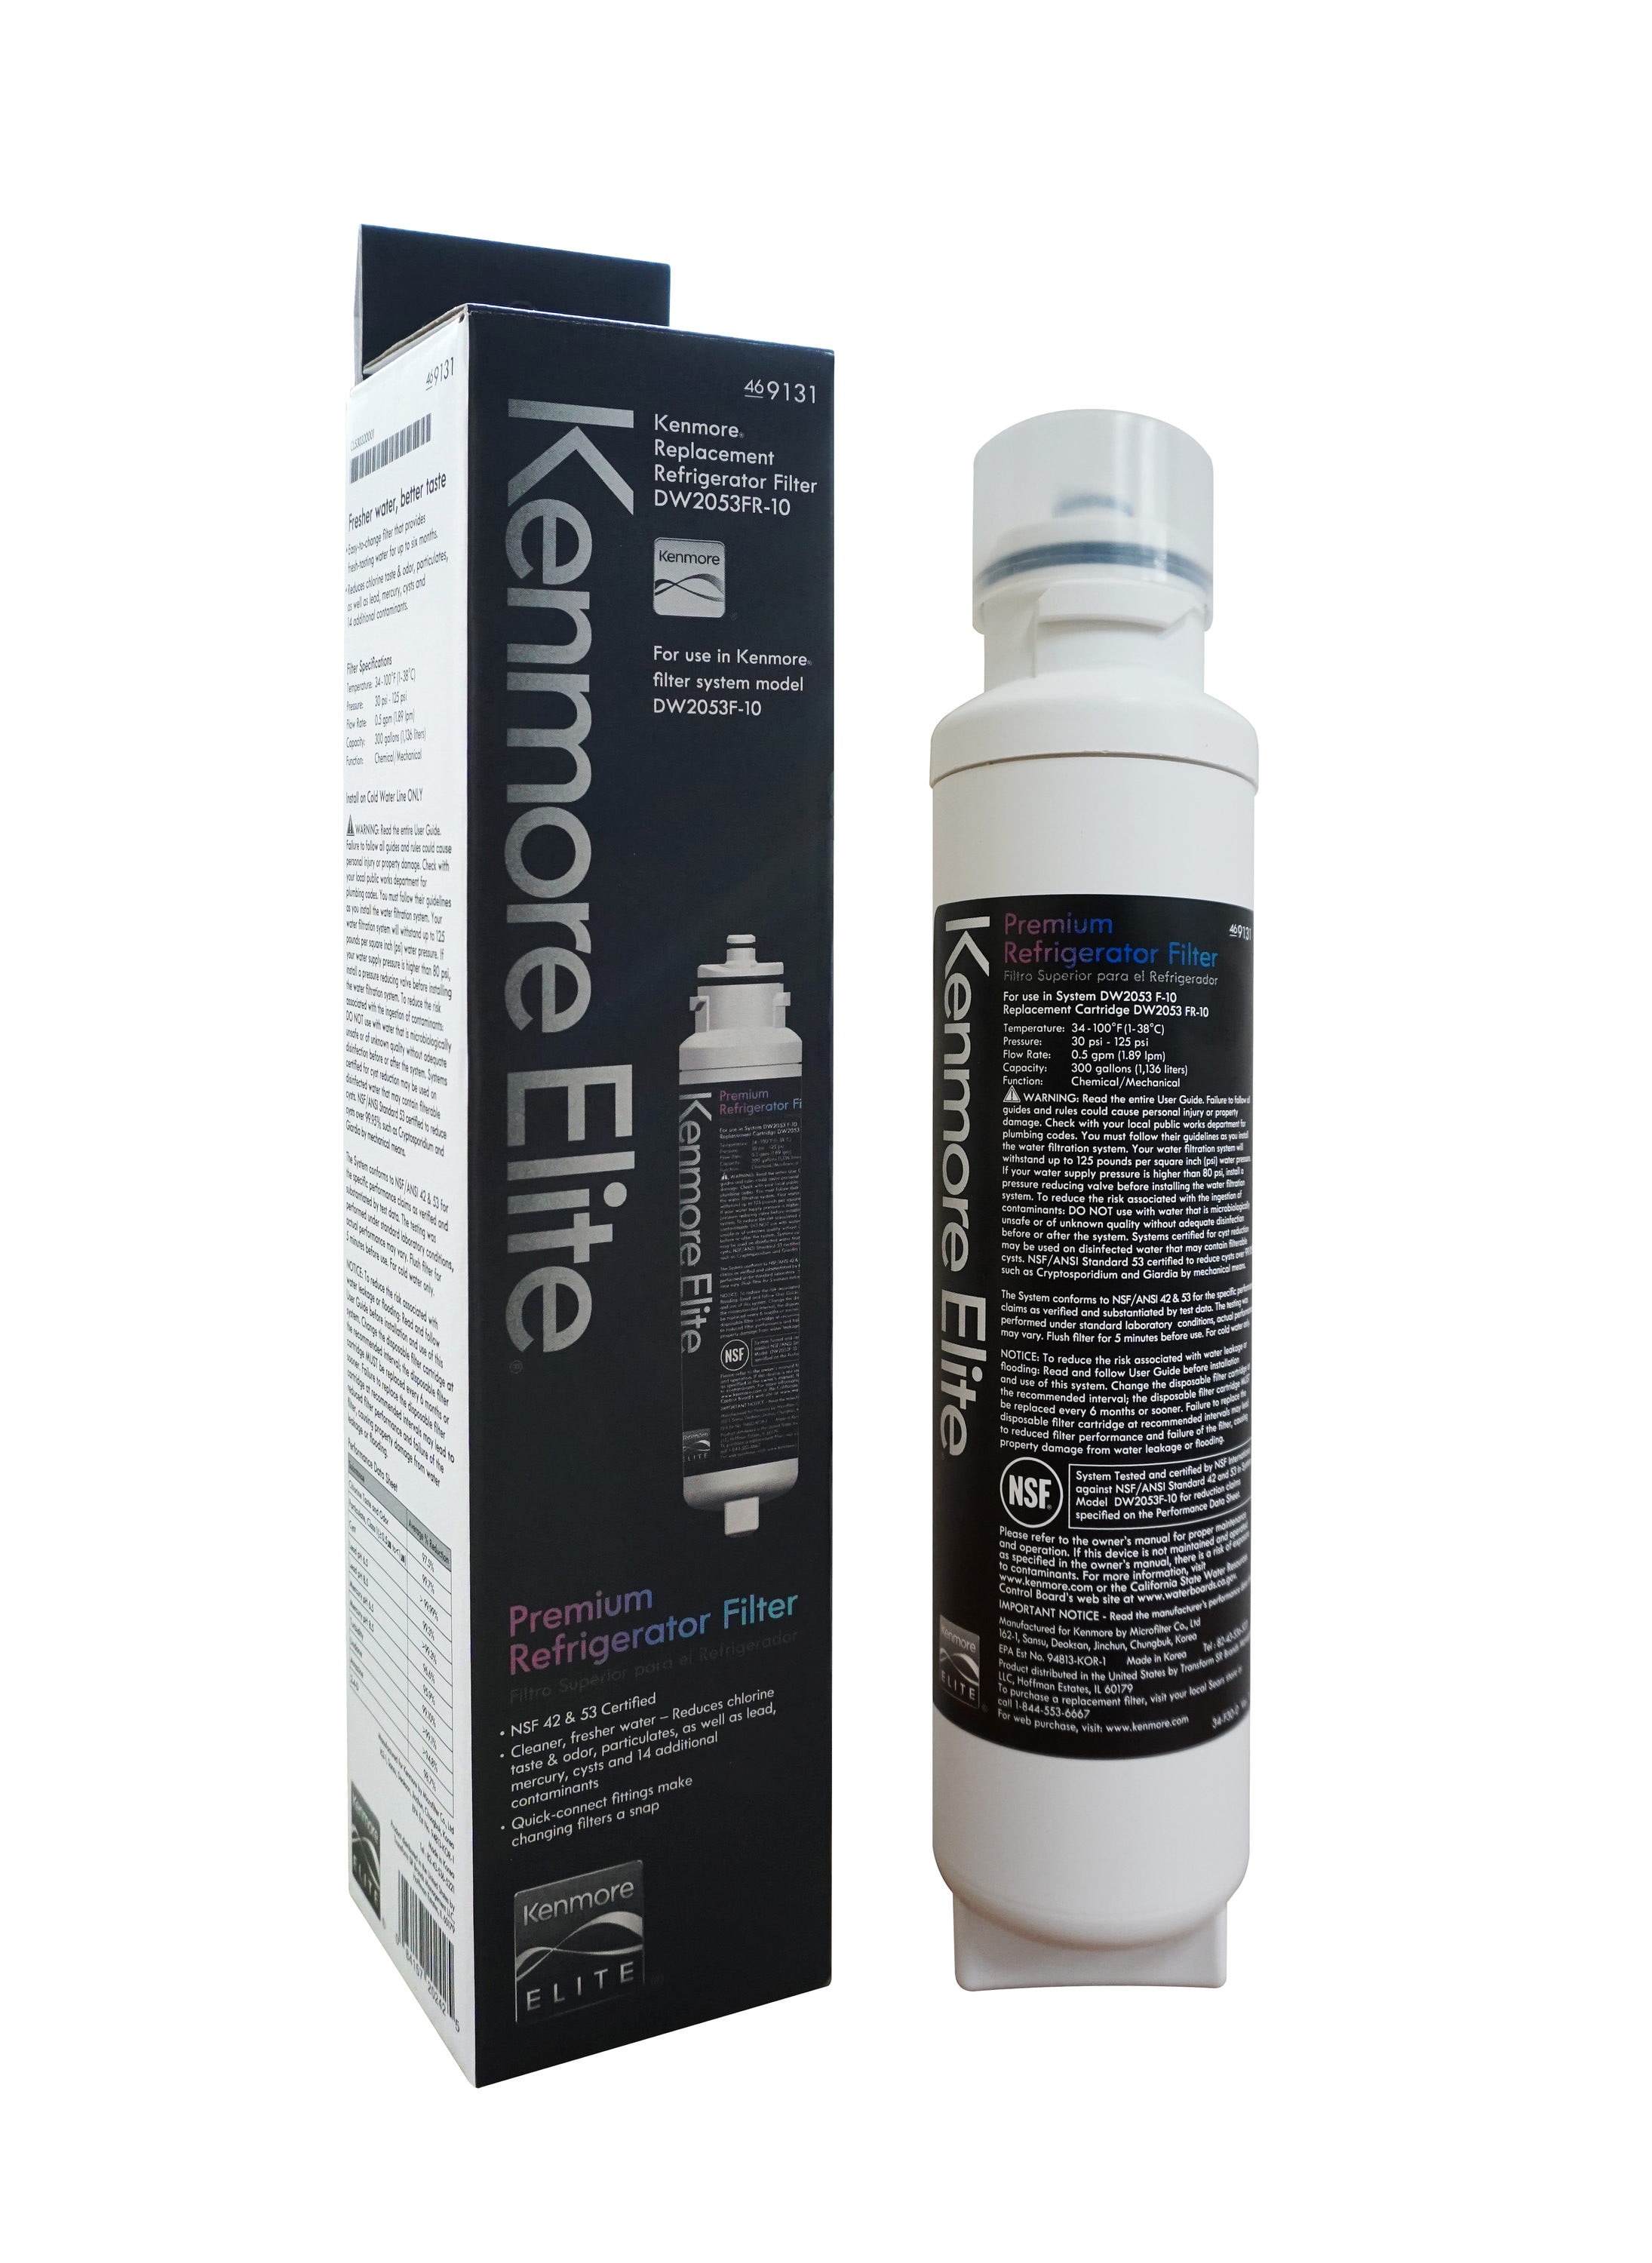
Understanding Your Kenmore Pro Counter Depth Filter
Your kenmore pro counter depth filter is a crucial part of your refrigerator system, as it purifies the water that dispenses through the door. It’s essential to understand how it works, why it needs to be revamped, and the benefits of doing so.
How Does The Kenmore Pro Counter Depth Filter Work?
The kenmore pro counter depth filter operates by filtering the water to eliminate any impurities and contaminants. The filter system removes chlorine, rust, sediments, and any other harmful elements that may be present in your home’s water. The filter system also enhances the taste and freshness of your water by removing any unpleasant odors or flavors.
Why Is It Necessary To Revamp Your Kenmore Pro Counter Depth Filter?
Over time, the kenmore pro counter depth filter will absorb impurities and reach its filtering capacity. Using a filter that’s already reached its limit can cause your water to look cloudy and taste strange. Additionally, dirty filters can become a breeding ground for bacteria and can lead to potential health problems.
The Benefits Of Revamping Your Kenmore Pro Counter Depth Filter
Revamping your kenmore pro counter depth filter has many benefits, including:
- Clean water: A fresh filter will ensure that your water is pure, clean, and tastes great.
- Health benefits: Replacing a dirty and old filter with a new one promotes better health, as it reduces the risk of consuming harmful contaminants like bacteria and chemicals.
- Energy efficiency: A new filter can help reduce energy consumption by allowing the system to work efficiently. A dirty filter can disrupt the flow of water through the system, which can cause your refrigerator to use more energy than necessary.
- Money-saving: Replacing a filter is a cost-effective solution to ensure that your refrigerator operates efficiently and reliably. A dirty or clogged filter may result in expensive repairs if ignored for too long.
Revamping your kenmore pro counter depth filter is a simple and effective way to ensure that your water is pure, tasty, and healthy. Make sure to replace the filter every six months, or more frequently if the water flows slowly or begins to taste and smell bad.
Identifying The Signs That Your Filter Needs Revamping
Do you own a kenmore pro counter depth water filter? Have you noticed that the water flow has decreased or that the water now tastes or smells unpleasant? Maybe the filtration system is malfunctioning? These are all signs that your water filter needs revamping.
Decreased Water Flow
- If you notice that the water flow has slowed down significantly, it could be because your filter is clogged with debris.
- Check your user manual for the recommended frequency of changing your filter. In general, it’s best to change it every six months.
- Check if the water pressure from your home’s main line is low. If it is, contact a plumber to fix the issue.
Unpleasant Taste Or Odor In Water
- If your water smells bad or tastes different, it’s a clear sign that you need to change your filter.
- The unpleasant smell may indicate that your filter is not working correctly and that it’s time for a replacement.
- Your filter might have mold or bacteria buildup, leading to the offensive taste and odor. Change your filter immediately to get rid of this unhealthy condition.
Filtration System Malfunctions
- If your filtration system malfunctions when you try to dispense water, it’s a sure sign that it needs to be replaced.
- Check your user manual and examine the filtration system to ensure that you are installing the right filter.
- The manual will also provide simple troubleshooting tips to diagnose any system malfunctions you might be encountering.
Timing For Revamping Your Kenmore Pro Counter Depth Filter
- It is advisable to change your filter every six months.
- However, if you are experiencing any of the above-listed problems, it does not matter how long you’ve used your filter, replace it as soon as possible.
- A regularly maintained filter ensures that you have better-tasting and cleaner water.
Replacing your kenmore pro counter depth filter is crucial for optimal performance and improving the quality of your water. Remember to replace your filter following the recommended schedule and to keep an eye out for any of the signs mentioned above.
Gathering Tools And Supplies
Are you puzzled about how to replace the water filter on your kenmore pro counter depth? It may seem complicated at first, but with the right tools and supplies, you can revamp your filter with minimal effort. In this guide, we’ll outline the necessary tools and supplies required for filter revamping, so you can get started in no time!
List Of Necessary Tools For Revamping Your Kenmore Pro Counter Depth Filter
Having the proper tools can make all the difference when replacing a water filter on your kenmore pro counter depth. Here’s a list of essential tools to have on hand:
- Adjustable wrench
- Pliers
- Screwdriver
- Bucket or container to catch water
- Towel or rag
Now let’s dive into each tool’s role in the process.
- An adjustable wrench is required to detach the filter housing from your fridge compartment.
- To remove the old filter and install a new one, you may need pliers. Pliers offer a better grip while dealing with stubborn filters.
- A screwdriver is necessary to unscrew the screws in the filter housing.
- It’s important to keep a bucket or container handy to collect water spills while removing the filter.
- Lastly, keep a towel or rag nearby to wipe up any remaining water or spills.
Types Of Supplies Required For Filter Revamping
Along with necessary tools, you’ll need specific supplies to refurbish the filter of your kenmore pro counter depth fridge. Here are a few types of supplies you may require:
- Kenmore pro counter depth water filter
- Food-grade silicone lubricant
- Dish soap and warm water
Let’s understand the purpose of each of these supplies.
- A kenmore pro counter depth water filter is the most important supply that you’ll need for revamping the filter.
- Food-grade silicone lubricant ensures the filter housing’s proper installation, making it easier to remove and reinstall the filter later.
- Dish soap and warm water are optional but useful in case any spills or leaks occur while replacing the filter.
Now that you’ve gathered all the necessary tools and supplies, it’s time to start revamping your kenmore pro counter depth water filter and ensuring that you’re drinking clean and fresh water every day without any hassles.
Initial Preparation
Turning Off The Water Supply
Before you start replacing your kenmore pro counter depth water filter, you must turn off your water supply. This will help prevent any leaks or water spills during the process. Follow these steps to turn off the water supply:
- Locate the water supply valve. Typically, this valve is located beneath the sink or near the waterline.
- Turn the valve to the right until it is completely closed.
- Once the valve is completely closed, turn on the faucet to release any excess water that may be present in the system.
Performing A System Flush
After turning off the water supply, the next step is to perform a system flush. A system flush will help remove any contaminants left in the waterline. Follow these steps for a system flush:
- Close the cold water valve again once all the water has been drained out.
- Open the faucet and keep it on until the water completely stops flowing.
- Close the faucet and wait for a few minutes.
- Turn on the water supply and let the water run for about five minutes before removing the old filter.
Disassembling The Kenmore Pro Counter Depth Filter
Now that the system flush is complete, it’s time to disassemble the kenmore pro counter depth water filter. Follow these steps to remove the old filter:
- Find the filter cap located in the front of the refrigerator compartment.
- Rotate the filter cap counterclockwise to remove it.
- Gently pull the old water filter down and discard it.
- Take the new water filter out of its packaging and remove the protective cap.
- Insert the new water filter into the filter housing and rotate it clockwise until it snaps into place.
- Reinstall the filter cap by rotating it clockwise until it is snug.
Overall, it is important to follow these initial preparation steps to replace your kenmore pro counter depth water filter properly, without any issues. Once you have successfully replaced the filter, turn on the water supply and run the water for a few minutes to ensure the system is working correctly.
Cleaning And Maintenance
If you own a kenmore pro counter depth refrigerator, cleaning and maintaining your water filter is essential to ensure the provision of safe and clean water. Here, we’ll discuss how to clean, replace and lubricate the kenmore pro counter depth water filter.
How To Clean The Kenmore Pro Counter Depth Filter
Regular cleaning of your kenmore pro counter depth water filter can extend its lifespan and improve its performance. Here are some steps to follow while cleaning your filter:
- Begin by shutting off the power source and water valve connected to the water filter to prevent any electrical shock or water damage.
- Remove the filter cartridge and detach the filter head from the cartridge.
- Use a soft, clean cloth to wipe the filter head, housing, and cartridge of any residual debris and buildup.
- Rinse the filter head, housing, and cartridge thoroughly in running water to remove any remaining particles.
- Wipe dry with a clean cloth, and reassemble the filter housing and cartridge.
Replacing The Filter Cartridge
Your kenmore pro counter depth water filter needs to be replaced either every 6 months or after filtering 200 gallons of water, depending on which comes first. To change the filter cartridge, follow these steps:
- Turn off the water valve and unplug the refrigerator from the power source.
- Open the filter cap located on the fridge’s ceiling inside, turn it counterclockwise and then pull it out.
- Remove the old filter cartridge and discard it.
- Take out the new filter from its packaging and remove the protective cap.
- Insert the new filter into the filter cap with the arrow pointing upwards, aligned with the arrow on the filter cap.
- Push the filter cap all the way into the ceiling until it clicks in place.
- Turn on the water valve and plug the fridge back in.
Lubricating And Reassembling The Filter
Lubricating your kenmore pro counter depth water filter can help prevent dryness and ensure smooth operation while reassembling. Here’s how to do it:
- Detach the filter head from the cartridge, and then apply a small amount of food-grade silicone lubricant to the o-ring.
- Attach the filter head back to the cartridge and ensure it is aligned correctly and screwed on.
- Tighten the filter head by a quarter turn to secure it in place.
- Turn on the water valve and plug the fridge back in.
Cleaning and maintaining your kenmore pro counter depth water filter is vital to ensure the health and well-being of your family. With these simple steps, you can effortlessly ensure safe and clean drinking water for your loved ones.
Testing The Kenmore Pro Counter Depth Filter Post-Revamp
Replacing water filters is an essential task that ensures the water we drink is clean and safe for our health. Kenmore pro counter depth filter is designed to provide clean water for daily use. In this post-revamp kenmore pro counter depth filter guide, we will learn how to test the revamped kenmore pro counter depth filter effectively and ensure that it is functioning correctly.
Here are the steps you need to take:
Steps To Test The Revamped Kenmore Pro Counter Depth Filter
To test the revamped kenmore pro counter depth filter effectively, you need to follow these steps:
- Turn off the water supply: Shut off the water supply before testing the filter to prevent water from spilling out of the system during the testing process.
- Remove the filter: Locate and remove the filter cartridge. Discard the old filter and replace it with a new one if you haven’t already done so.
- Reset the filter indicator light: Reset the filter indicator light by holding the button until it turns green. Some models may require a different process for resetting the indicator light, so check your manual to ensure that you are following the correct process.
- Flush the filter: Run some water through the filter to flush any air pockets inside the system and ensure that the filter is working correctly.
Ensuring That The Kenmore Pro Counter Depth Filter Is Functioning Correctly
Now that you have tested the revamped kenmore pro counter depth filter, you need to ensure that it is functioning correctly. Here’s how:
- Run a taste test: Taste the water that comes out of your faucet to see if it tastes different from tap water. Ensure that there is no odor or unusual color in the water.
- Check the water pressure: Check the water pressure to ensure that there is no drop in water flow. If the water pressure is low, it may indicate a faulty filter.
- Monitor the filter usage: Keep track of your filter usage and change the filter every six months or as recommended by the manufacturer to ensure that your filter is functioning correctly.
Remember, taking care of your kenmore pro counter depth filter ensures that you and your family always have clean, healthy water.
Frequently Asked Questions For How To Replace Water Filter Kenmore Pro Counter Depth
How Often Should I Replace The Water Filter In My Kenmore Pro Counter Depth Refrigerator?
It is recommended to replace the water filter in your kenmore pro counter depth refrigerator every six months, or when the “replace filter” indicator light turns on.
What Type Of Water Filter Do I Need For My Kenmore Pro Counter Depth Refrigerator?
You’ll need a kenmore 9084 water filter for your kenmore pro counter depth refrigerator. This filter is designed to reduce contaminants such as chlorine, lead, and mercury from your drinking water.
How Do I Replace The Water Filter In My Kenmore Pro Counter Depth Refrigerator?
First, locate the water filter cartridge in your kenmore pro counter depth refrigerator. Then, push the button or tab to release the old filter and remove it. Finally, insert the new filter and turn it clockwise until it clicks into place.
Will Replacing The Water Filter In My Kenmore Pro Counter Depth Refrigerator Improve The Taste Of My Water?
Yes! Replacing your water filter on a regular basis helps to ensure that you have clean, fresh-tasting water and ice.
Is It Easy To Replace The Water Filter In A Kenmore Pro Counter Depth Refrigerator?
Yes! Replacing the water filter in your kenmore pro counter depth refrigerator is quick and easy. Simply follow the steps outlined in your refrigerator’s user manual or our blog post on “how to replace water filter kenmore pro counter depth”.
Conclusion
After reading this guide, you should now be confident and equipped with the knowledge to replace the water filter on your kenmore pro counter depth refrigerator. Remember to always turn off the water supply before replacing the filter, and to properly dispose of the old filter in an appropriate manner.
Additionally, make sure to use only genuine kenmore pro filters to ensure proper functioning of your refrigerator. Regular replacement of the water filter will not only ensure the quality and taste of the water dispensed but also prolong the life of your refrigerator.
If you encounter any issues or have further questions, do not hesitate to consult the user manual or seek the help of a professional. Keep your water clean and your kenmore pro counter depth refrigerator running smoothly by following these simple steps for filter replacement.